Hello friends, this is Melissa. We just wanted to thank you all so much for the sweet comments you left here and on our facebook page for Kellie! We have been so blessed to have met and gotten to know so many amazing people. I just wanted to let you know that I have taken some time to really think about what I am going to do and I have decided to step away from Icing Designs as well. Kellie and I both have had such a wonderful time creating our shop and sharing our designs with you. We have also loved having this blog to share our ideas, projects and parties with you. We have created so many lasting memories that we will cherish. It is so bittersweet to be saying good-bye to the last 4 years. But we are excited to see what the future holds and so excited to continue to follow our favorite blogs and all of the people that have given us such inspiration along the way. We will leave our blog up and we hope that you may be able to still draw some inspiration from it. Again, thank you so much to all of our friends and family that have supported us. It has meant so much to us and we are so thankful to you all.
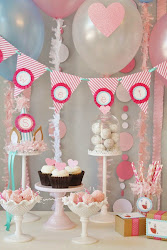
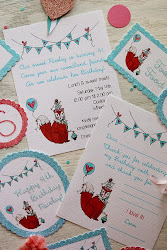
We thought since we had a few parties that we never did get a chance to share with you, we would leave you with a few photos {from my twins Japanese tea birthday party and an 25th wedding anniversary party we threw for my mom and step dad!}
Best wishes to you all!
Sweetly,
Melissa and Kellie
")


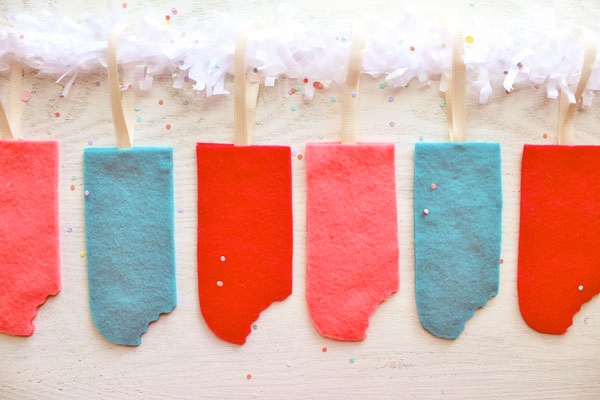
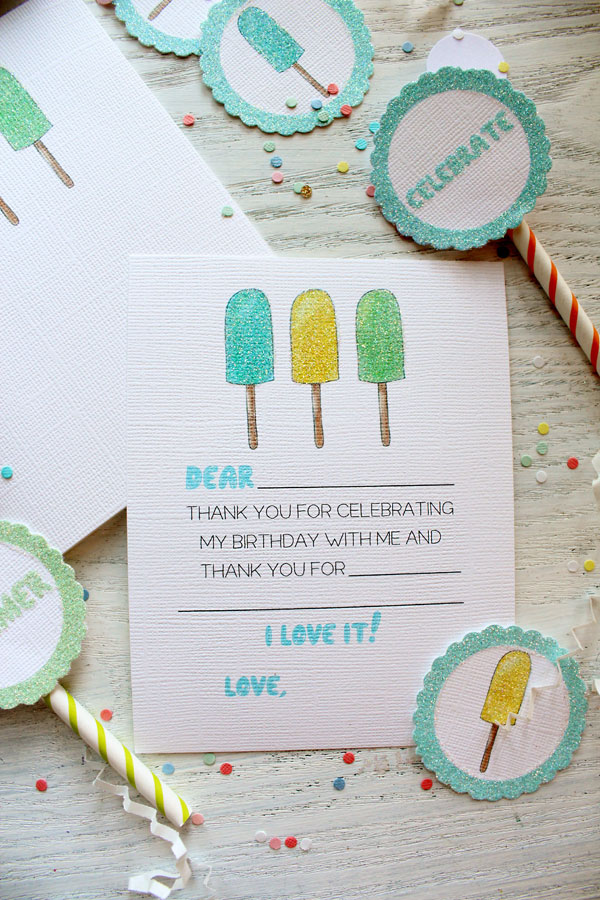
paper goods, styling, diy projects: icing designs
handmade cake topper: katie pietraszak
cookies: cookies with character


frosted photos, styling, cake, paper flowers: icing designs
desserts: cacao sweets and treats
tassel garland: flair exchange